| Welcome -> Home -> WiFi Stuff -> ASUS WL500gP modding |
Content
|
| Standard
case
(no pictures yet)
|
|
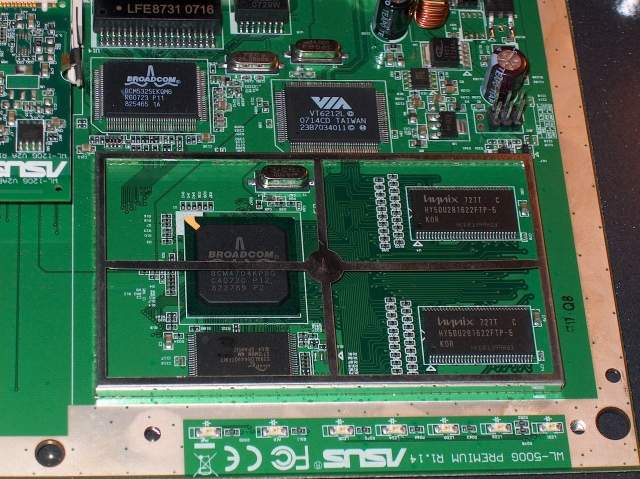
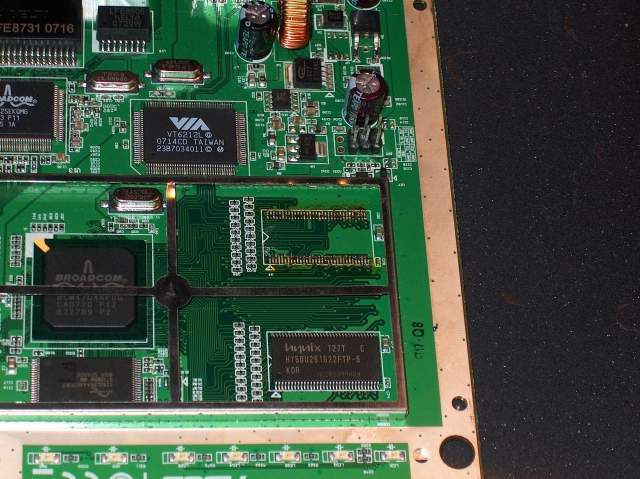
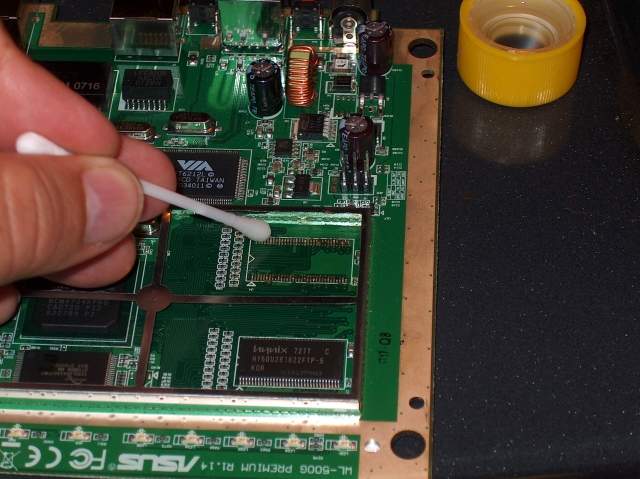
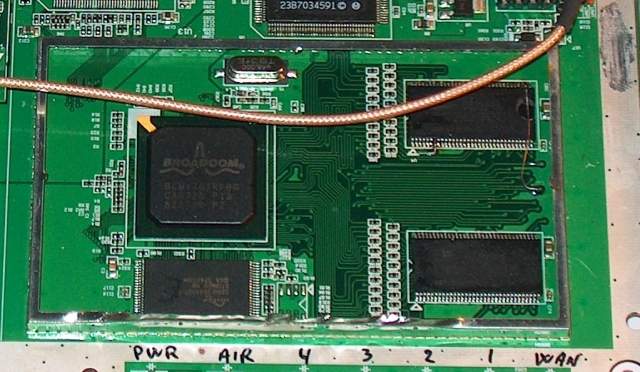
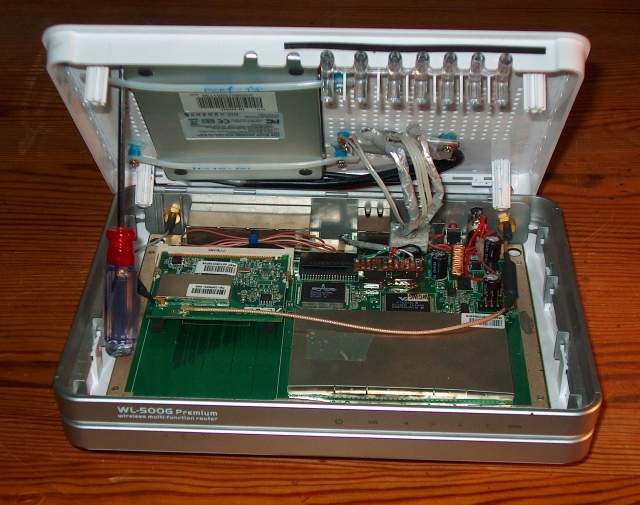
Adding 128Mb RAM
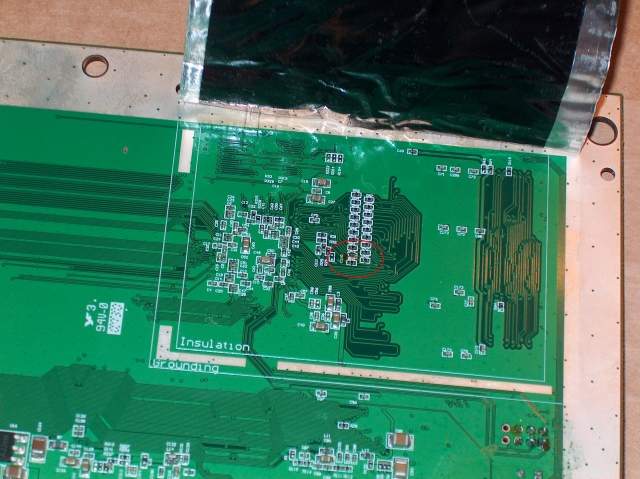
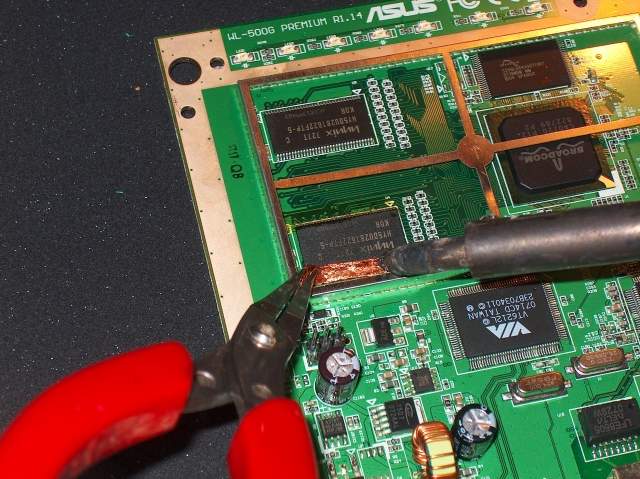
On the wl500gp.info forums I saw that it was possible to add more RAM to some of the ASUS routers. I love modding, so it simply had to be tested/done. MORE is always better - when it comes to RAM
Found out the hard way: A better way to remove old chips is to use ChipQuick.
Lesson learned: Use ChipQuick to remove the old RAM, as it is less likely that solder pads will come unglued from the PCB. Oh, well on to the next Asus router PCB, and hope for better luck with that one
Two new 64Mb Static RAM chips - and only two solder pads to rescue!
|
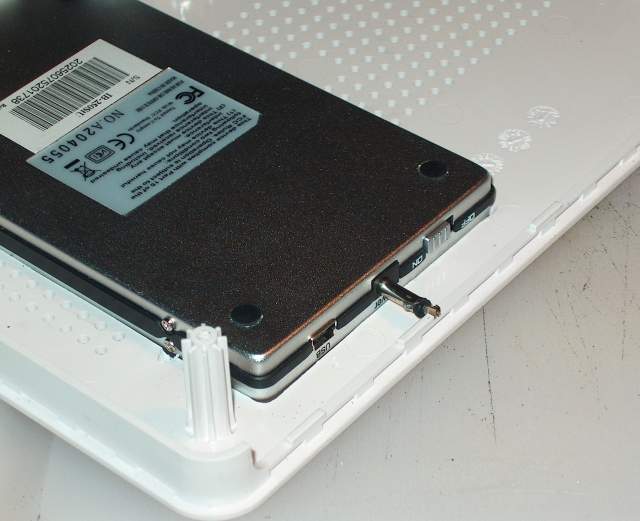
| Adding a
USB HD
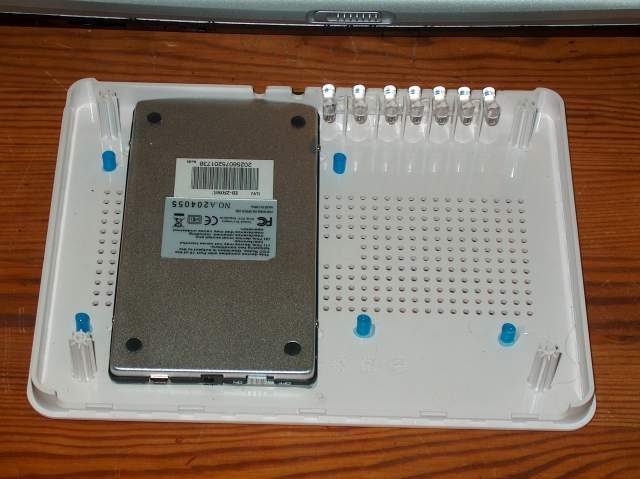
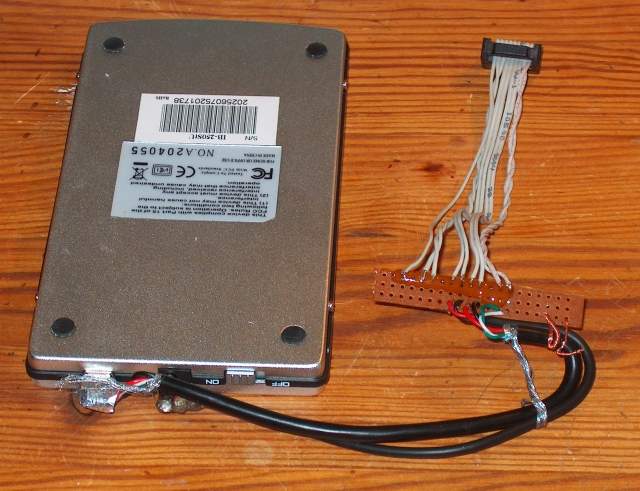
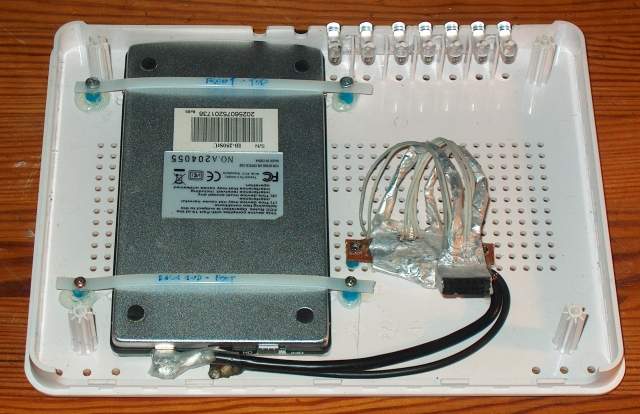
The ASUS WL500gP router has USB ports, that I wanted to use for adding a HD to the router, and thus add one more function to the router. Better to have one "power-guzzling" unit do two jobs, than to have two units running. Oh well - maybe not "guzzling", but it still adds up when the plan is to have it running 24*7
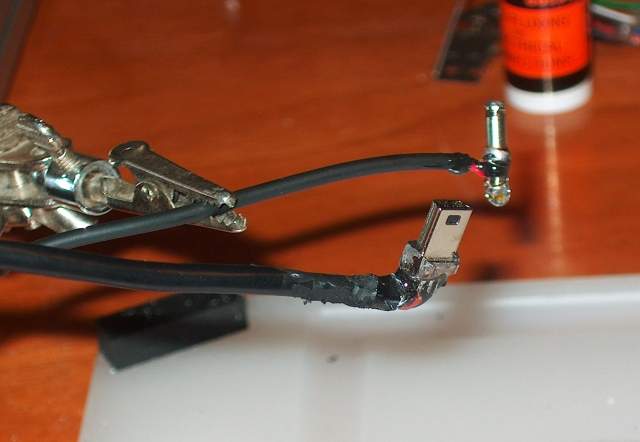
Other (or modded) wires needed though, as the standard wires took up 1-2 inches (abt. 4 cm) of space. Much too wasteful in a small router case. So on with the dremel!
The stands are pieces of blue straw, filled with epoxy gule. So, did I tell you that blue is my favorite color? Well, it is!
The USB HD case needs 4 wires for the USB cable (to transfer data and power the SATA-to-USB logic), and two wires to supply power directly to the HD. Having a 10-pin DIL handy, I added an extra set of 2 twisted wires and a set of straight wires, that may later be used for one more USB port and/or a RS-232 connection, as I would like to some day add a small LCD screen to the router, along with a few navigation buttons.
I chose to twist the USB data wires, and also to add shielding to the data wires. I know this may be overkill, but I know - from first hand experience - how cell phones can completely kill an unshielded USB connection if it is operated within 2-5 feet of the USB wire.
|
| Extra
External antenna
I had the antenna left over from the dead PCB (with too many solder pads missing), and I got a handful of 4-inch pigtail off ebay (shipped from Malaysia). The mini-PCI WiFi board already has an extra standard pcb antenna socket on it, and the two antennas are ON as default, as there is a small internal antenna on the mini-PCI board which is active, if no external antenna is connected. As a matter of fact, you can actually run the ASUS WL500gP without any external antennas - so long as you do not expect it to cover more than one small room. As it turns out - using two external antennas adds 10-20% range on the unit.
|
| Done
- so far!
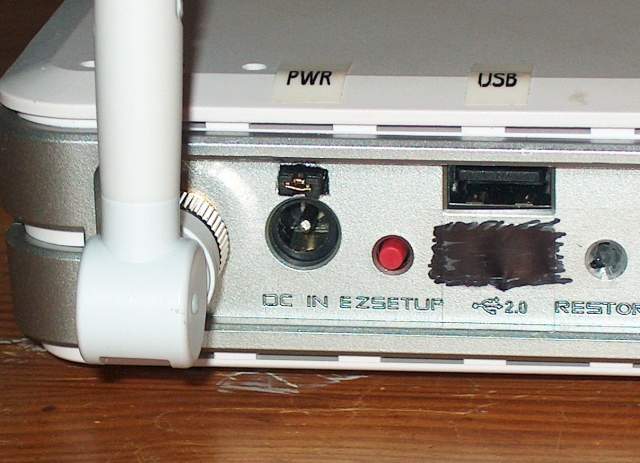
Having added the 2.5" HD, I was wondering if the original 5V- 2A power supply would be enough to power the whole unit. To be able to monitor the amps used by the unit, I added a DIL jumper above the power socket. All power from the power supply runs through the DIL jumper, so by can remove the jumper, and adding an AMP meter, one can easily monitor power consumption of the whole unit. So far I have not measured anything above 1.6 Amps. That is fine for the 2 Amp power supply. And so fan the DIL jumper has not gotten hot either!!
|
| Adding
the right Software
Now that the hardware has been upgraded, it's time to upgrade the software. I have choosen to use DD-WRT, and add Samba for sharing
of the HD. |
|
|
|
Performance
The Asus WL500gP has great performance, see this review for test results. Due to protocol lack (TCP, HTTP, FTP etc.) practical speeds are however only about 50% of wire speeds. HD access speed is maxing out at something approaching 2 Mega Byte per second. Not very fast really, but just fine for my current needs. |
|
|
|
Created summer 2008 - Last edited 29-10-2008 |
|
|